We can install MacOS in Virtualbox easily, In today's blog post we are going to discuss how to install MacOS Big Sur in Virtualbox in Hindi

1 VIRTUAL BOX
2 ISO FILES OF BIG SUR
3 INSTALL COMMANDS LIST
INSTALLATION GUIDE
Step 1: Search Virtualbox

Step 2: Download Virtualbox from the First website and install

Step 3: Download the ISO file of the apple operating system from link

Step 4: Open the Virtual box Click on New and Give the name to the machine

Step 5: Click on option three and step as you configuration

Step 6: Click on Fouth option and step virtual disk

Step 7: Select the location

Step 8: Click on Finish

Step 9: Click on settings

Step 10: Select Option two and make sure this all options are the same as mine

Step 11: Go to option three and set video memory at 120 max

Step 12: Go to the storage section

Step 13: Select Option two

Step 14: Select ISO File for boot

Step 15: Go to the USB section and select 3.0

Step 16: Open this command file and copy all commands

Step 17: Open the note-pad and past it

Step 18: replace MV name to your machine name

Step 19: You can see your machine name here

Step 20: Open cmd as admin

Step 21: Copy first command

Step 22: and past it into cmd

Step 23: Now copy all commands

Step 24: and past it into the cmd

Step 25: Now click on start

Step 26: You can see like this

Step 27: Then like this

Step 28: Now select lng and click on next

Step 29:Select fourth option

Step 30: Click on the first option

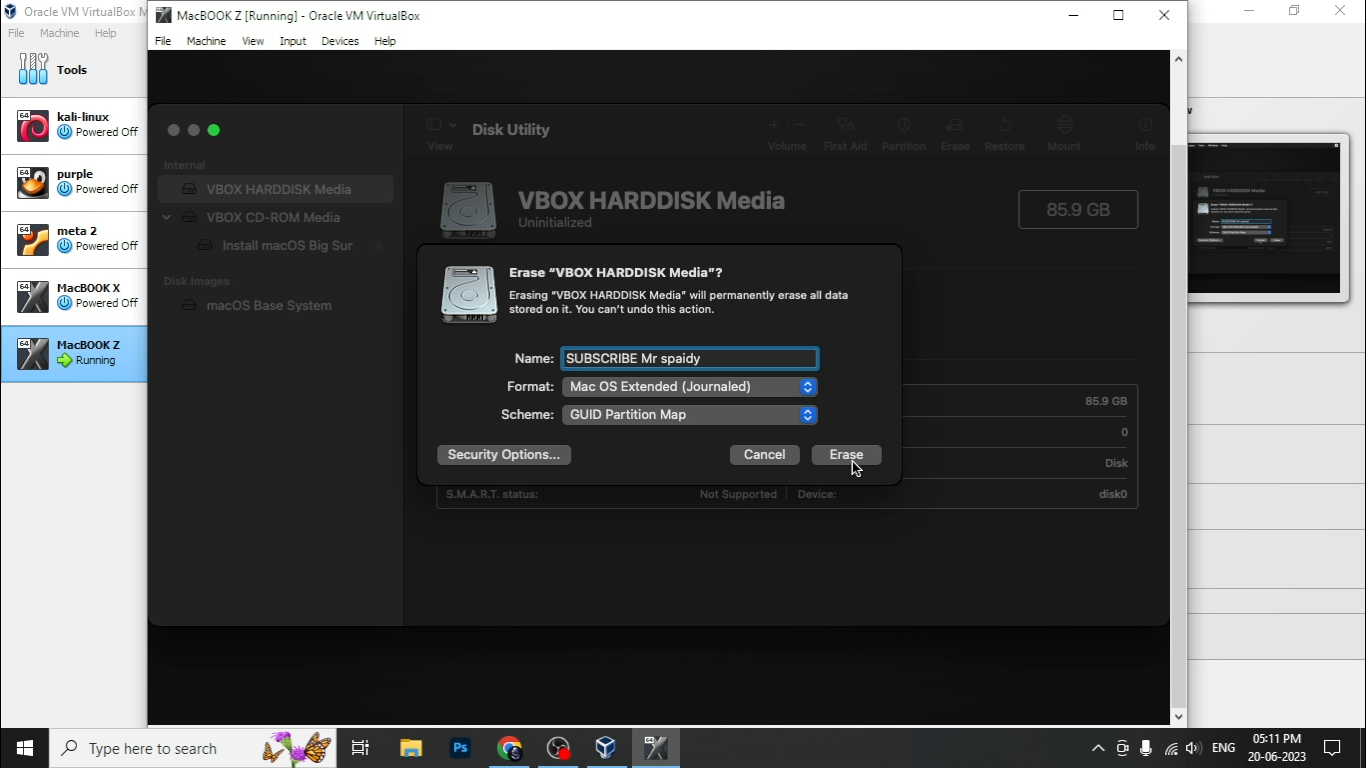
Step 31: Click on erase

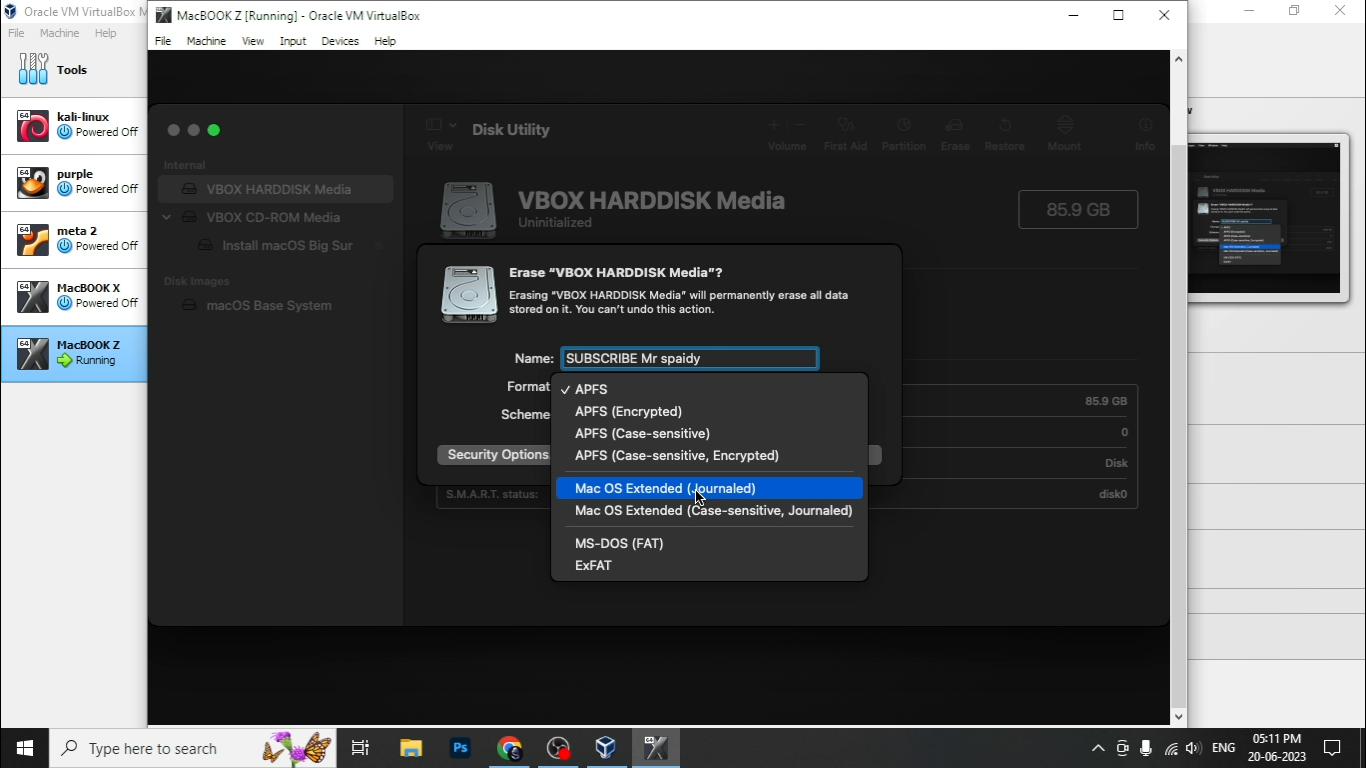
Step 32: Give a name to the disk

Step 33: Select MacOS Extended in the second option
Step 34: Click on erase
Step 35: Click on done

Step 36: Close

Step 37: Select option two

Step 38: Continue

Step 39: Agree

Step 40: Select the disk and continue

Step 41: Wait for the 15 minutes

Step 42: Now Select Your Country

Step 43: Click on continue

Step 44: Click on Not Now

Step 45: Continue

Step 46: Not now

Step 47: Set up later

Step 48: Skip

Step 49: Agree

Step 50: Setup login password

Step 51: Continue

Step 52: Set up later

Step 53: Continue

Step 54: Continue

Step 55: Select the theme which you want

Step 56: Now your work is almost done

Step 57: Continue

Step 58: press "z"

Step 59: press "/"

Step 60: Click on Done

Practical video available on Youtube in Full details :


1 Comments
i am getting this error after start e_fail(0x80004005)
ReplyDeleteplease help